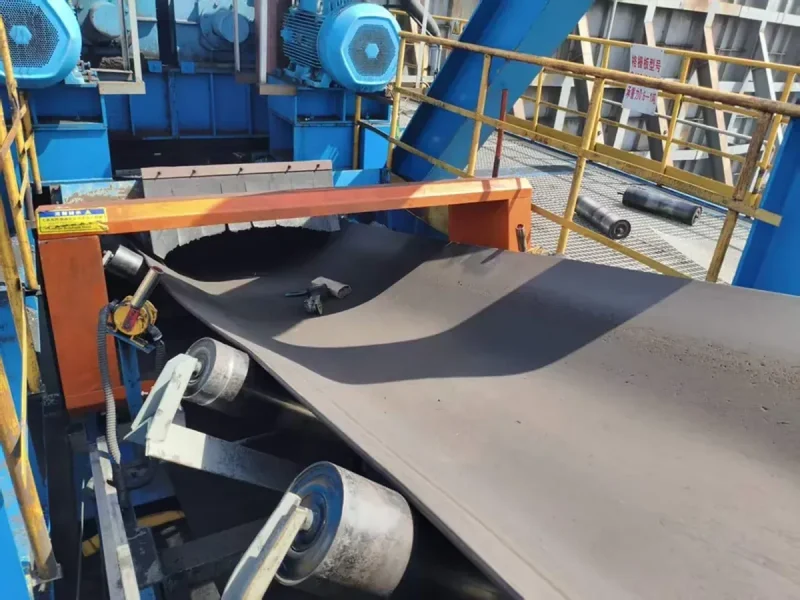
Quick Summary
To locate tramp metal after a conveyor stops, first make the conveyor safe, then search the material identified by the marker or by its travel after the alarm. Unwanted metal can move well beyond the detector before the belt stops. Search the full width and depth of that material section, use a suitable handheld detector to narrow the search, and keep suspect material separate until recovery and inspection are complete, or remove it from production.
The useful sequence is: preserve the alarm details → isolate the equipment → locate the suspect section → scan smaller batches → verify removal → restart through the plant procedure. Resetting the alarm alone does not complete the job.
What should you do before searching the stopped belt?
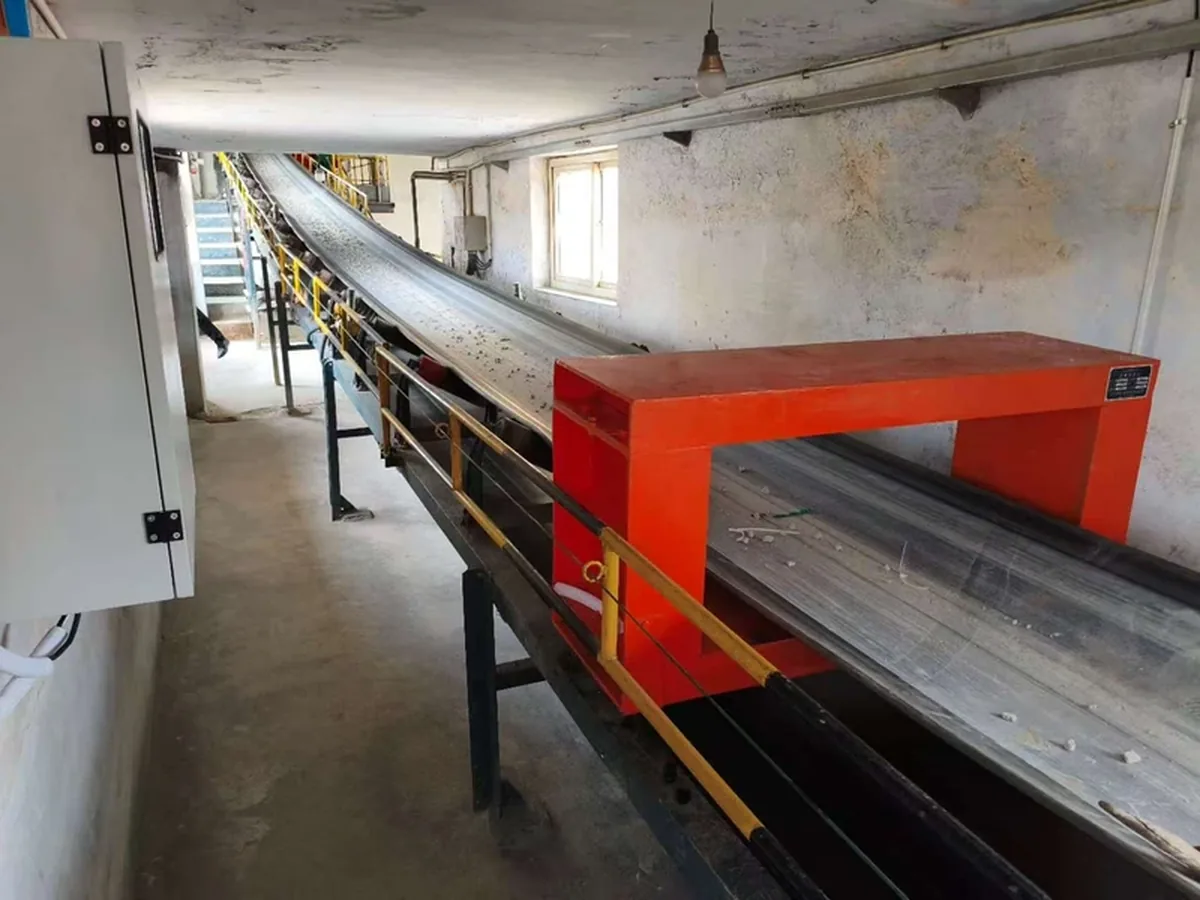
Keep people away from the conveyor until authorized personnel have isolated the equipment and controlled stored energy. An alarm stop, emergency stop, or stopped drive does not by itself prevent unexpected movement.
Before clearing any indication, record what is visible from a safe position: the alarm time, belt speed, marker status, and any additional detection events. Note whether the belt moved again after the first stop. These details help identify the right material section later.
Use the plant’s isolation procedure to control the conveyor, connected feeders, automatic restart commands, and equipment that could move or feed the work area. Include stored energy and rollback risks. Authorized personnel must verify isolation before anyone accesses the belt or removes material. OSHA’s hazardous-energy guidance explains why an unexpected start or release of stored energy remains dangerous during this work.
Plan a safe access point and a separate place for suspect material. Use suitable handling tools and protection for sharp metal. Do not reach into moving material, work through guards, or enter a chute to look for the object.
Where is tramp metal likely to stop on the belt?
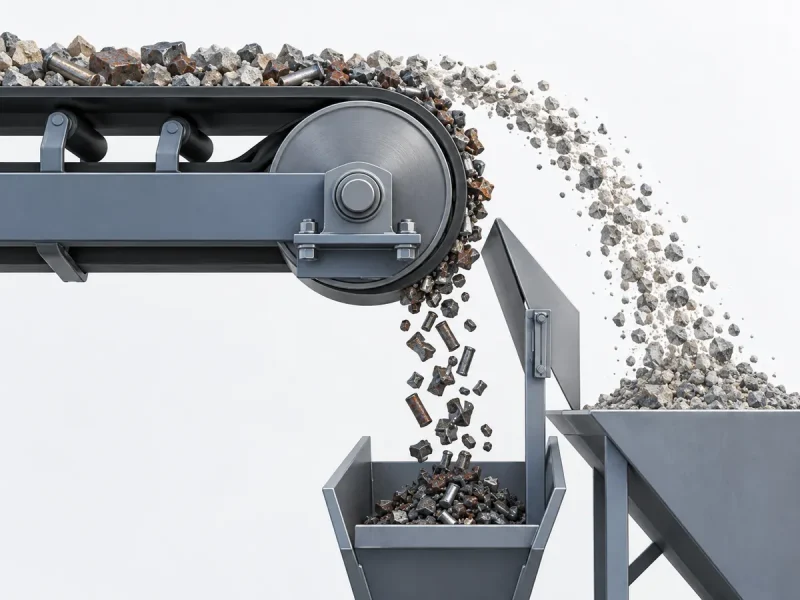
The metal usually stops downstream of the point where it triggered detection, because the belt keeps moving during the control response and deceleration. Use the actual belt direction and event history; material sliding, rollback, or later belt movement can change that position.
Use the marker and the alarm history first
A spray mark or dropped flag identifies a useful search area. It does not automatically give the metal’s depth or its position across the belt. Start around a proven mark, then cover the material’s full width and depth.
Read any additional alarm events before resetting the display. For example, the Oretronic IV manual describes a coast count for detections while the belt stops. On a system with this feature, further detections mean the search must also cover the following suspect material toward the detector. An event count is a reason to widen the search, rather than proof of an exact number of separate objects.
Estimate travel when there is no reliable mark
Use measured belt travel after the alarm whenever it is available. Take the alarm timestamp and the belt-position or encoder record from the control history. A motor speed command alone does not show how far the belt actually moved.
When no position record exists, a speed trace can estimate travel. Add the distance covered during each interval from the first detection event to standstill. For a simple model with constant speed during the response delay and uniform deceleration afterward:
Travel after detection = belt speed × response delay + ½ × belt speed × deceleration time.
Suppose a belt runs at 1.6 m/s, continues at that speed for 0.4 seconds after detection, and then slows evenly to zero over 3.0 seconds. Assume the metal stays with the material on the belt:
- Travel during the delay: 1.6 × 0.4 = 0.64 m.
- Travel during deceleration: ½ × 1.6 × 3.0 = 2.40 m.
- Estimated total travel: 0.64 + 2.40 = 3.04 m.
That puts the starting search area about 3 m downstream of the trigger position. Multiplying full speed by all 3.4 seconds gives 5.44 m, which overstates travel for this example. If the recorded stop time already runs from detection to standstill, do not add the response delay again.
The sensing field has length, and material can shift within it or after detection. Use repeated stopping-position records at the relevant speed and load to set a practical search window around the estimate. Do not turn 3.04 m into an exact digging point or apply a fixed margin to every conveyor.
If there is no reliable timing or position record, include the entire plausible travel section in the suspect area. If it may have discharged over the head pulley, keep the affected downstream route isolated and refer the search to the plant’s maintenance procedure. Searching only beside the detector will miss material that has already left it.
How do you find metal buried in a deep material bed?
Narrow the search by scanning manageable, shallow batches on a non-metallic surface, while keeping every unsearched batch separate. A quick sweep over the top of a deep load can miss metal near the belt.
Prove the handheld detector can find your target
Start with the actual metal type and the smallest harmful size you need to recover. Use a suitable retained sample or test piece, kept separate from production material. Check that the handheld responds at the working distance and through the layer you intend to scan. Also scan clean material without the sample to establish the background response.
Eriez describes its HH-10 handheld detector for locating tramp metal after product flow has stopped, including shallow aggregate on non-metallic surfaces. That is a useful operating condition: nearby steel rollers, trays, supports, or steel cords in the belt can interfere with a handheld search.
If the background keeps triggering the handheld, move a safely removed batch to a clear non-metallic surface. If the test piece cannot be found through that layer, reduce its depth or use a suitable inspection method. Do not label material clear after a scan that could not find the test target.
Search smaller batches without losing their identity
Once access is safe and the suspect section is identified:
- Keep the section contained. Identify its upstream and downstream limits. Cover the entire loaded width, including material at the edges and near the belt surface.
- Remove material in identifiable batches. Keep the locations or batch numbers with them. Do not mix searched, unsearched, and signal-positive material.
- Spread one batch into a shallow layer. Use the depth demonstrated by the handheld check. Sweep slowly with overlapping passes and a consistent distance from the surface, using the detector’s operating method.
- Divide a signal-positive batch. Scan the smaller portions separately. Continue with the portion that carries the response until the object or contaminated lump can be isolated.
- Rescan the remainder. Keep other suspect batches on hold until their own inspection is complete. Finding one bolt does not account for another fragment elsewhere in the load.
Use tools to expose sharp pieces rather than feeling blindly through the material. If the response stays at the same place on the work surface after the batch is moved away, investigate the surface or nearby metal. If it follows the batch, continue narrowing that batch. Keep gloves, tools, and clothing with metal fittings away from the sensing area during the comparison.
What if you still cannot find any tramp metal?
First test whether you searched the correct material under suitable scanning conditions. Investigate a nuisance alarm only after those checks. No visible object and no handheld response do not, by themselves, explain the original alarm.
| What you observe | What to investigate first | What the result tells you |
|---|---|---|
| Nothing is found beside the detector | Alarm-to-stop travel, belt movement after stopping, and the marker’s actual landing area | The suspect material may be farther downstream or may have discharged. Expand containment to its likely destination. |
| The handheld reacts everywhere, or cannot find the test piece | Steel beneath the batch, material response, layer depth, and target type | The handheld setup cannot yet distinguish the target. Change the scanning conditions before clearing any batch. |
| Existing records show trips at the same belt joint | The joint’s position relative to each alarm, clip-sensing status if fitted, and belt repairs | A splice-related response becomes a useful lead. It still needs investigation; do not change clip-suppression timing or reduce sensitivity by guesswork. |
| Trips appeared after a change in material, moisture, or load | Compare affected and previously stable material under the detector’s approved test method | A material-related signal is possible. Keep target detection in the comparison when changing settings. |
| Controlled checks show alarms without suspect material | Nearby moving steel, loose metal connections, vibration, and electrical interference | Ask maintenance to separate these possible causes using the installation and fault records. A single alarm does not identify which one caused it. |
Metal Detectors Inc.’s technical FAQs describe nuisance trips from electrical interference and intermittent conductive loops near the detector. Use those as investigation leads, rather than a reason to dismiss a material alarm.
Keep unresolved material out of production. Repeat the search with a method that can find the relevant target, or remove and hold the whole affected section. Restarting it toward a crusher to see whether the alarm returns transfers the unresolved hazard downstream.
How do you verify removal before restarting?
Account for the suspect material and any recovered metal, then restore the line through its controlled restart procedure. A cleared alarm is an electrical state; it is not evidence that an object has been removed from the material.
Keep three checks separate:
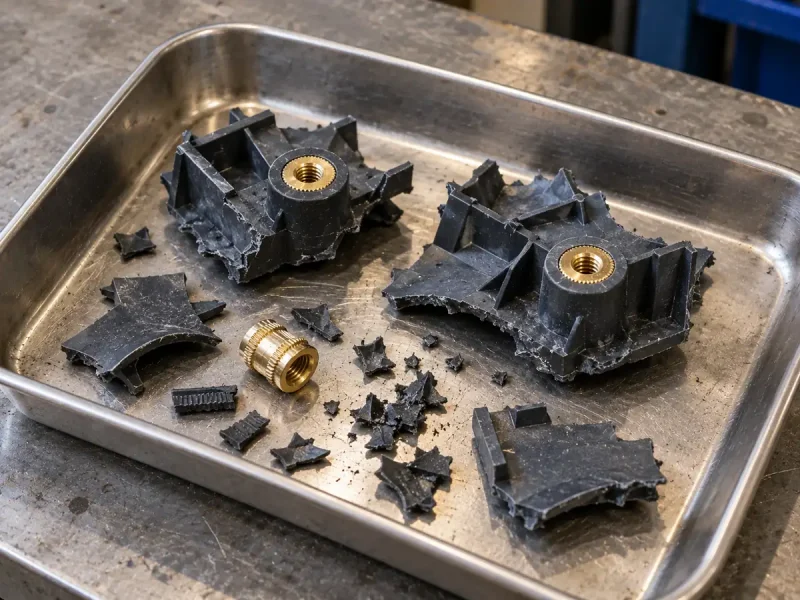
- Recovery: retain the object or contaminated lump and record where it was found. Compare it with the alarm sequence, including any additional events. If its shape suggests a broken part, investigate whether more fragments could remain.
- Material: rescan the remaining suspect batches with the demonstrated inspection method. Recheck the handheld with the retained test piece after the search. If a batch remains unresolved, keep it segregated instead of returning it to the belt.
- Line readiness: account for people, tools, temporary markers, and removed guards. Authorized personnel release isolation through the plant procedure. Restore normal detection settings and the required stop or reject response before production resumes.
Where a conveyor function test is required, plan the test piece’s secure passage and recovery before running it. Keep people clear, restore guards, and use the plant’s controlled test procedure. Never let an unsecured metal sample travel toward the machine being protected. Access for any further search requires isolation again.
Record the alarm time, search limits, recovered item, remaining material’s status, and who released the line. If the response was caused by a confirmed equipment fault, record the cause and the successful post-repair test. A belt that stopped successfully has proved the stop action; recovering the metal and clearing the suspect material prove a different part of the task.
How can you make the next metal search faster?
Improve the part of the process that caused the delay: locating the material, scanning it, or handling repeated contamination. A more sensitive main detector will not solve every long search.
If operators repeatedly search the wrong belt section, record actual stopping positions and assess a marker. At steady speed, the basic travel time from the sensing reference to a downstream marker is distance ÷ belt speed. The installed controller delay must also account for its trigger reference and the marker’s response or drop time. Prove the final mark against a secured, recoverable test target.
The Eriez Model 1230 manual describes adjusting marker timing against a metal target. Its settings belong to that system. For variable-speed operation or marking during deceleration, use a compatible position-tracking arrangement and validate the actual sequence; a timer based on one running speed can place the mark incorrectly.
If scanning takes longest, provide a suitable non-metallic inspection surface and a way to contain batches without mixing them. Record search time separately from the time spent making access safe and restoring the line. This shows whether the next improvement should be better location information, better access, or a different inspection method.
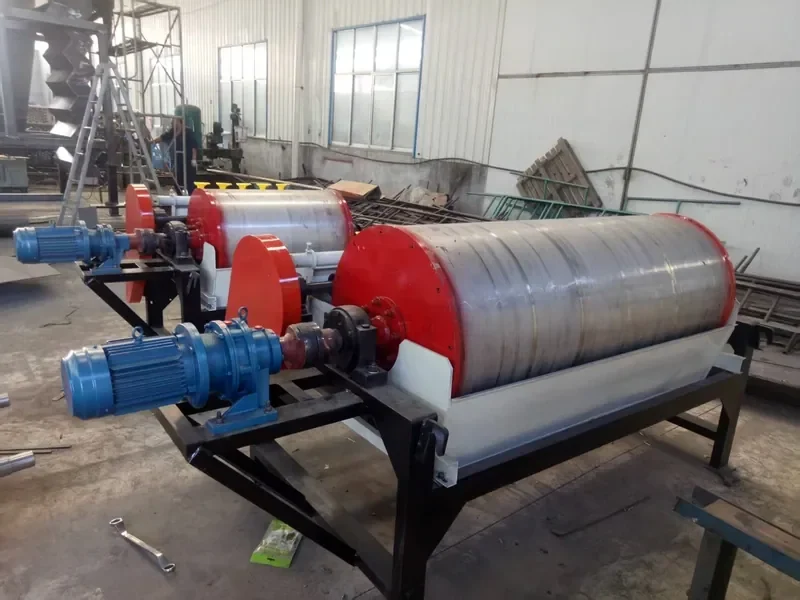
If repeated iron contamination causes repeated stops, investigate its source and assess continuous magnetic removal where suitable. A magnet must reach, capture, and discharge that metal. It does not replace detection of non-magnetic contaminants. Our metal detector versus magnetic separator guide explains how the two jobs fit together.
Find the suspect material, then prove it is clear
To locate tramp metal after a conveyor stops, follow the material’s actual movement, search the full suspect section, and verify what has been removed. A reliable marker or stopping-position record shortens the first step. A suitable handheld method and separate batches shorten the second. Unresolved material stays on hold while the line is made ready for a controlled restart.
When reviewing a detector installation, define what must happen after detection as carefully as the target metal. Our conveyor metal detector range covers different conveyor layouts and response requirements.
For an application review, contact Corvelan. In the message, include the detector model, material and depth, belt speed, alarm-to-stop record, marker details, and where recovered pieces were found. These details help us discuss the detection and recovery arrangement for your line.
Questions about finding metal on a stopped conveyor
Can we reverse or jog the belt to find the metal?
Do not use routine jogging or reversing as a search method while people are accessing the conveyor. It can move the suspect material into another area and expose people to moving equipment. Prefer inspection of safely removed material. If movement is essential, authorized personnel need a specific controlled procedure with everyone clear of the equipment. Isolate again before any further access.
Can a handheld detector that finds steel also clear stainless steel or aluminum?
A successful steel test does not establish the handheld’s performance on stainless steel or aluminum. Test the relevant metal, size, shape, and position through the layer being scanned. Include a clean-material check. If the handheld cannot distinguish that target from the background, keep the batch on hold and use an inspection method suited to it.
What if the metal is embedded in a rock or a piece of timber?
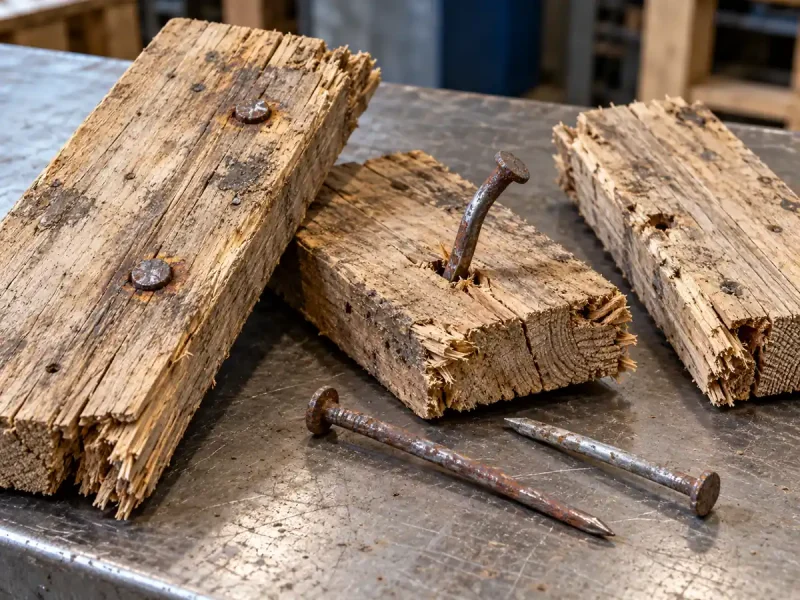
Remove and segregate the whole signal-positive lump or piece before trying to expose the metal. A surface mark does not show how deeply the object is embedded. Do not break rock, cut timber, or hammer an object apart on the conveyor. Further handling belongs in a suitable work area with its own procedure. Record the removed piece and inspect the remaining suspect material separately.
What should we hand over if the shift ends before metal is recovered?
Hand over an unresolved, segregated incident rather than a cleared alarm. Record the isolation status, event details, suspect belt limits, batch locations, areas already searched, and checks still outstanding. Name who is taking responsibility for the next step. Transfer work and isolation control through the plant procedure; a shift change alone does not authorize removing another person’s lock or restarting the conveyor.